Before diving into the process, let’s take a sneak peek at the features of Windows 10X OS. Windows 10X made to provide a lightweight experience. It pops up with clean, minimal, and intuitive UI changes to the Microsoft Surface Neo and other portable devices. The newer OS brings new navigation gestures, a bunch of UI changes to the apps and system, the new Action Center, File Explorer, and more. And luckily, you can get access to all the features of the upcoming Windows 10X on your Windows 10 PC.
As for now, the newer OS is under testing, which means It is not as stable as stable build, but it is suitable for regular use and preview. Although the Windows 10X Emulator is available for anyone, still there are some system requirements that you can check before heading over to the process. Here are the requirements.
Windows 10X Emulator System Requirements
Software Requirements
Make sure that your system is running on Windows 10 Pro, Enterprise, or Education (x64) build 10.0.19555 or later from the Windows Insider Program. Enable Microsoft Hyper-V with GPU-PV.
Hardware Requirements These are the minimum system requirements that you need if you want to taste Windows 10X features.
Processor: Intel chipset with at least four cores and virtualization support (It will not work on AMD processor). RAM: 8GB or more Drive: 15GB or more storage required (SSD recommended) Graphics: Discrete video card with support for DirectX 11 and WDDM 2.4 graphics.
If your system meets all the system requirements of the Windows 10X emulator, then you can dive into the installation process. Before installing the Windows 10X emulator, you need to update your Windows 10 to the latest release and Enable Microsoft Hyper-V component.
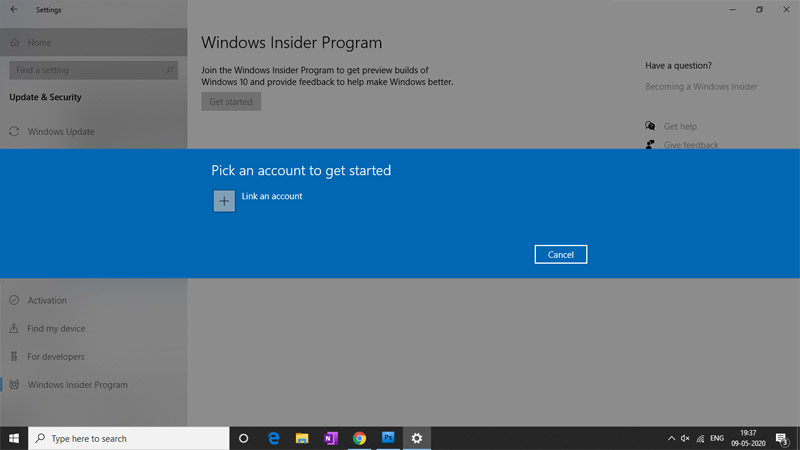
Install Windows 10 Preview
After upgrading your Windows 10 to the latest build, you can install the Windows 10X Emulator Image from the Windows Store. But before doing this, make sure to enable the Hyper-V component.
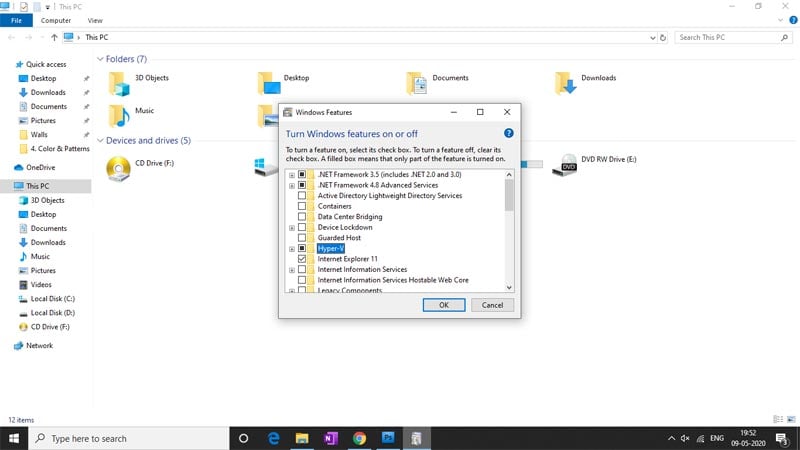
Enable Hyper-V Component
Make sure to enable Hyper-V, It allows your system to create virtual machines (basically, It enables you to sideload Windows 10X OS on the same hardware for parallel use). Check the Hyper-V support
Open the start menu and search for Command Prompt. Open Command Prompt and Enter this command systeminfo.exe It will show you whether your system has Hyper-V access or not. Make sure that the results are listed as Yes, under the Hyper-V Requirements section.
If it shows yes, then your system has Hyper-V access. Here’s how you can enable it on your system.
Open the start menu and then Settings. Click on the Apps and click on Programs and Features option available in the sidebar. Now click on the Turn Windows features on or off option. Here you need to check the Hyper-V option box. Once done, save the settings and restart your system.
Now you can download and install Windows 10X Emulator image on your Windows 10 PC. Here are the steps.
How to Install Windows 10X Emulator
Note: Before downloading the Windows 10X Emulator image file, you need to install Microsoft Emulator on your system. After installing the Microsoft Emulator application. You need to download the image file. Here are the steps. All done? Now, head over to the start menu and search for Microsoft Emulator. Here you need to click on the start button. It will boot up the Windows 10X Emulator. Now you can start using Windows 10X on your Windows 10 PC. If you’ve any queries, then you can leave the comments in the comment box. Also, share this article with your friends.
Download Windows 10X Wallpapers Download Microsoft Surface Book 3 Wallpapers How to Take a Long Screenshot on PC How to Enable & Setup Dark Mode on Windows 10