The ability to install Android apps on Windows rolled out as an update for Windows Insiders on the Beta Channel. The much-awaited feature for Windows 11 has finally arrived. If you are a Windows Insider on the Beta channel, you can now go ahead and try to install Android Apps on your Windows 11 PC. But, before you go ahead begin installing and sideloading apps, there are a few things that you need to know and do. So, read on to know everything about how to install Android apps on Windows 11 manually.
How to Install Android App in Windows 11 Manually
Step 1: Change Your PC’s Region
Since this feature is only available to users in the US region You will have to change the region for your PC. here is how you do it.
Step 2: Download Windows Subsystem for Android
Now you might think, well then, I could run the Subsystem for Android right away, everything should be just fine. To be able to run this, you will need to have Virtualization enabled. This can be set in the BIOS menu of your system. You will need to have Virtual Machine Platform enabled too. Head to the next step to enable it.
Step 3: Enable Virtual Machine Platform
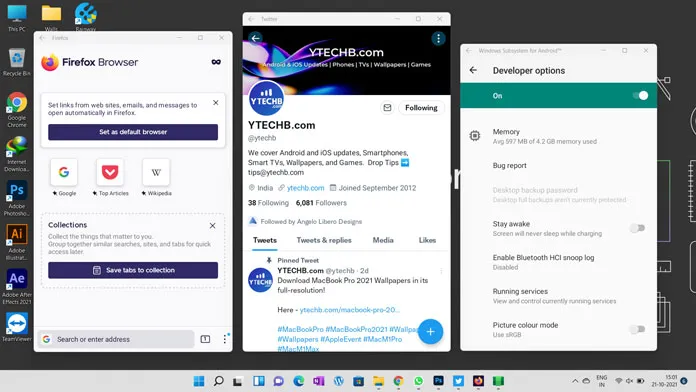
Step 4: How to run Android Apps on Windows 11
Conclusion
By sideloading Android Apps, you can enjoy your favorite app on your Windows 11 PC. However, you will need to note that apps that require Google Play Services might not run yet on Windows. Who knows, there could be someone out there looking out for a way to bypass the Google Play Services requirements. You may Also Like – How to Get Android Apps Support on Windows 11 [No Sideloading] If you still have any query on how to sideload or install android apps on Windows 11, then leave a comment in the comment box. Also, share this article with your friends.
Best Windows 11 Themes for PC [Updated]How to delete Windows.old folder on Windows 11How to install Windows 11 on Mac [Guide]Download MacBook Pro 2021 Wallpapers